


ROK KvK Season 1 Heliamber Guide: Master Valor & Preparation
Alright, Governors, entering your first Lost Kingdom can be a serious change of pace. One moment you are safely farming and developing in your home kingdom, and the next, enemy alliances may be waiting to attack as soon as you move beyond alliance territory. With recent game updates changing parts of early-game progression, entering this year's meta without a proper KvK Season 1 Heliamber guide can leave you unprepared. If you want to build up Kill Points, keep hospital costs under control, and contribute effectively toward the Ziggurat, getting your preparation right before KvK begins is essential.
WISHGM Rise of Kingdoms top-ups can help you get the resources you need while keeping your spending under control.
Pre-KvK Preparation
Before heading into the new map or getting involved in the first Pass battles, make sure your city is well stocked with the resources and speedups you will need. Spending your speedups too early can leave you struggling later when battles become more intense and your hospital starts filling up.
Speedups and Resource
· The 100-Day Rule: Aim to have around 100 days of speedups per march you intend to use. Healing can consume speedups quickly during extended KvK fighting, so having a comfortable reserve is important.
· Resource Hoarding: Keeping approximately 200 million of each resource in your inventory is a reasonable target for a more comfortable KvK start. Infantry players should pay particular attention to food, wood, and gold.
· Troop Capacity Caps: With a 50% Army Expansion buff and a level 60 commander, try to have around 300,000 to 350,000 troops in your march. With a 25% expansion buff, around 250,000 troops is a suitable target.
Heliamber & Valor Mechanics
If you have experience with older Rise of Kingdoms seasons, the introduction of Heliamber may feel quite different from the early kingdoms you remember, especially with the newer progression systems.
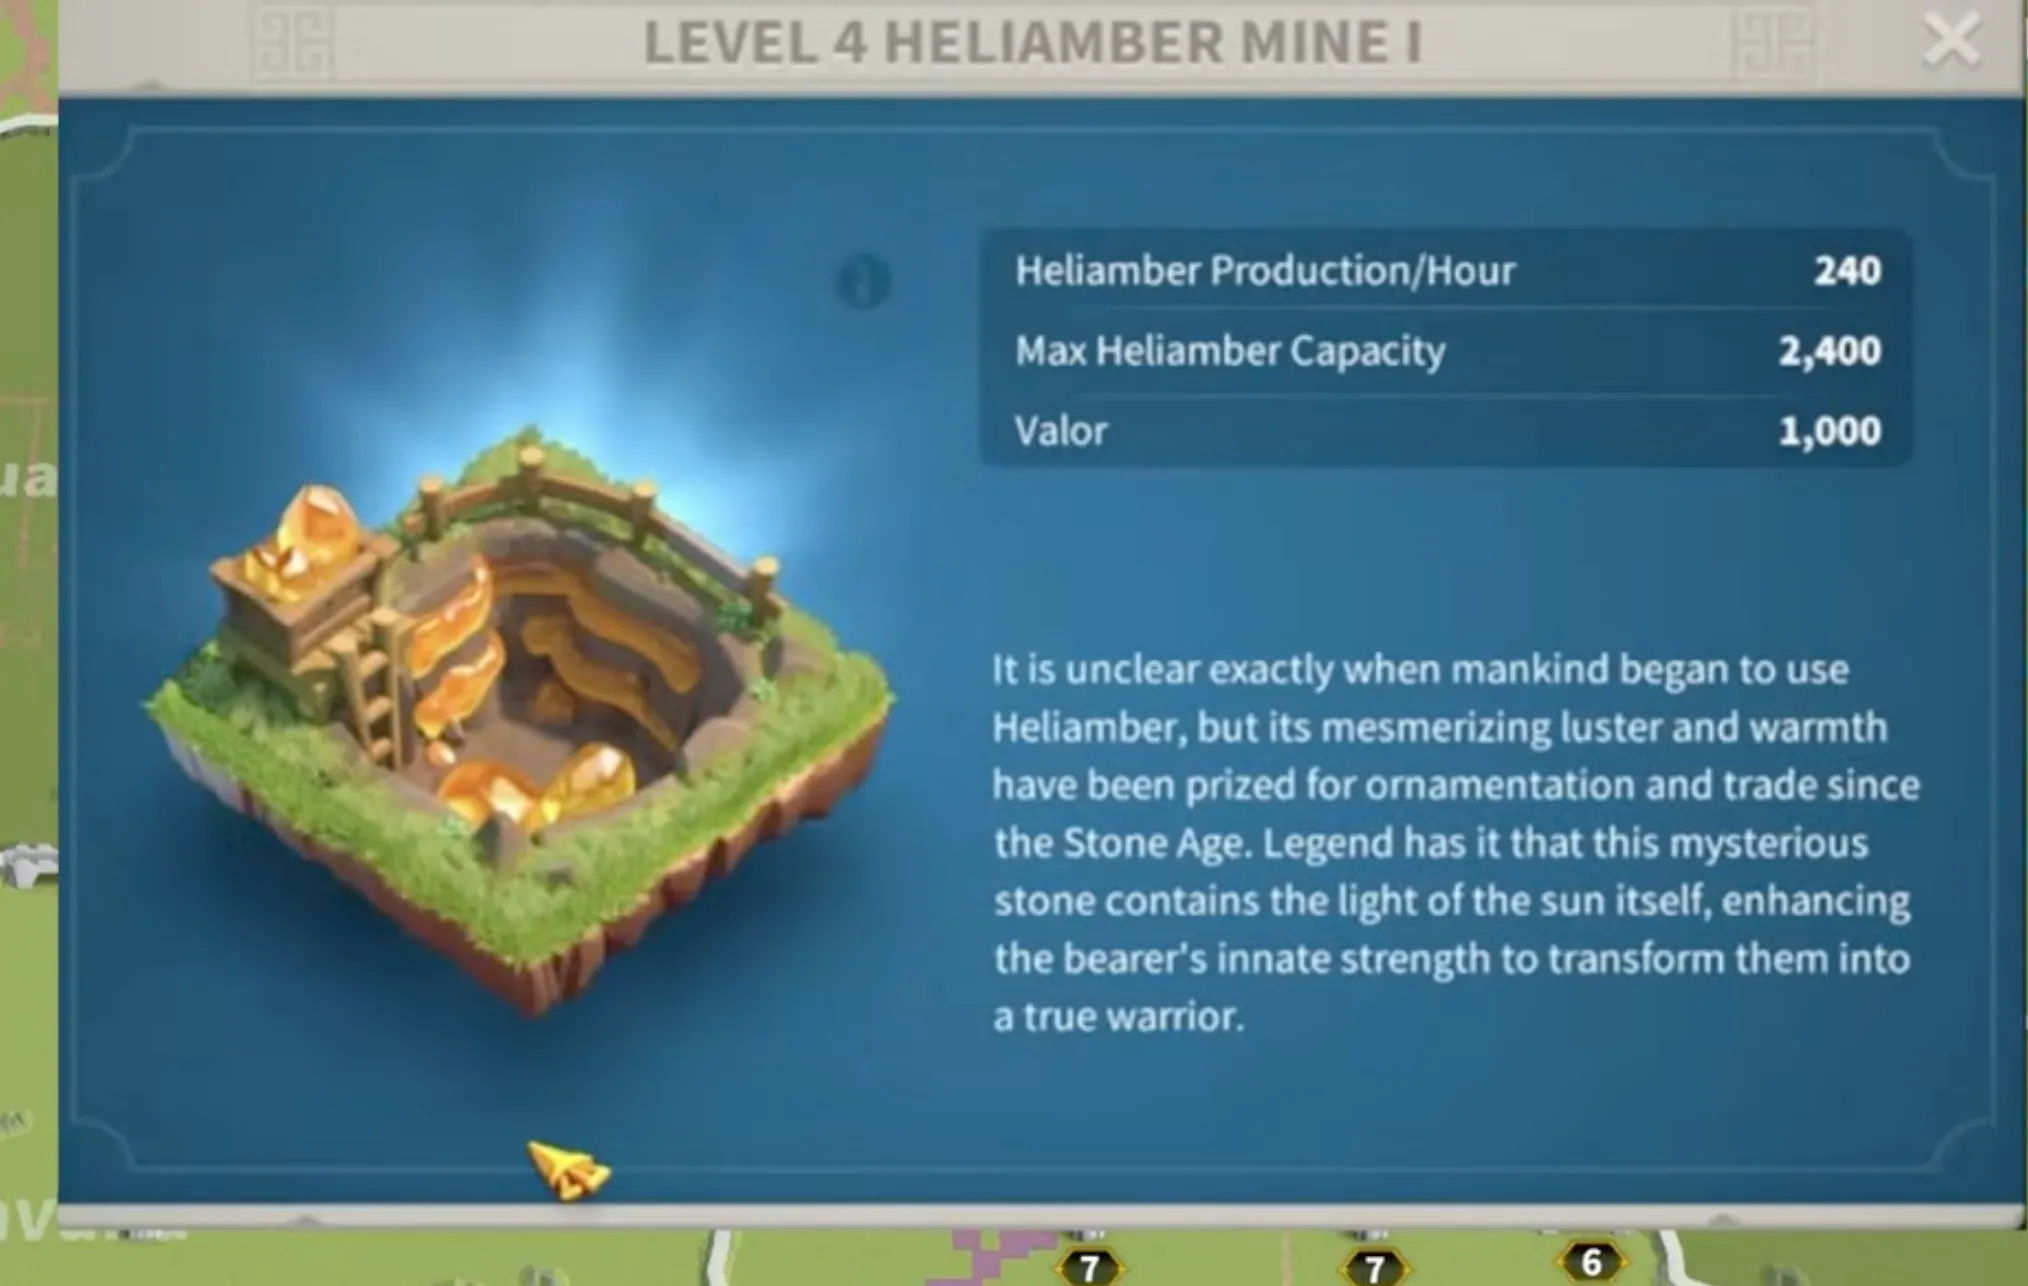
How the Heliamber Mine Works
· The Mine Setup: After entering KvK 1, you will unlock a Heliamber mine. Players can also purchase access to a second mine if they want to improve their early Heliamber income.
· Leveling Up: Upgrading your Heliamber mine increases its output, allowing you to collect more Heliamber and progress your Valor more efficiently.
Why Valor is Just a Strict Fort Check
· Barb Fort Power Scaling: Valor does not directly increase your open-field combat stats against other Governors. Instead, it functions as an important requirement for dealing with Barbarian Forts.
· Damage Multipliers: Reaching the required Valor level allows your troops to deal significantly more damage to forts while reducing the damage they receive. If your Valor falls behind the recommended level, higher-level Barbarian Forts can become considerably more difficult to defeat.
Best Commander Pairings
Heading into Lost Kingdom battles with poorly matched commanders can quickly turn your marches into easy targets for stronger opponents. Choosing pairings that fit your available commanders and playstyle is much more important. Here are some options based on different spending levels:
F2P and Low-Spender Picks
· Baibars + Sun Tzu: A reliable pairing for players working primarily with Epic commanders. Sun Tzu provides strong AoE damage that performs well in group battles, while Baibars adds useful area damage and mobility.
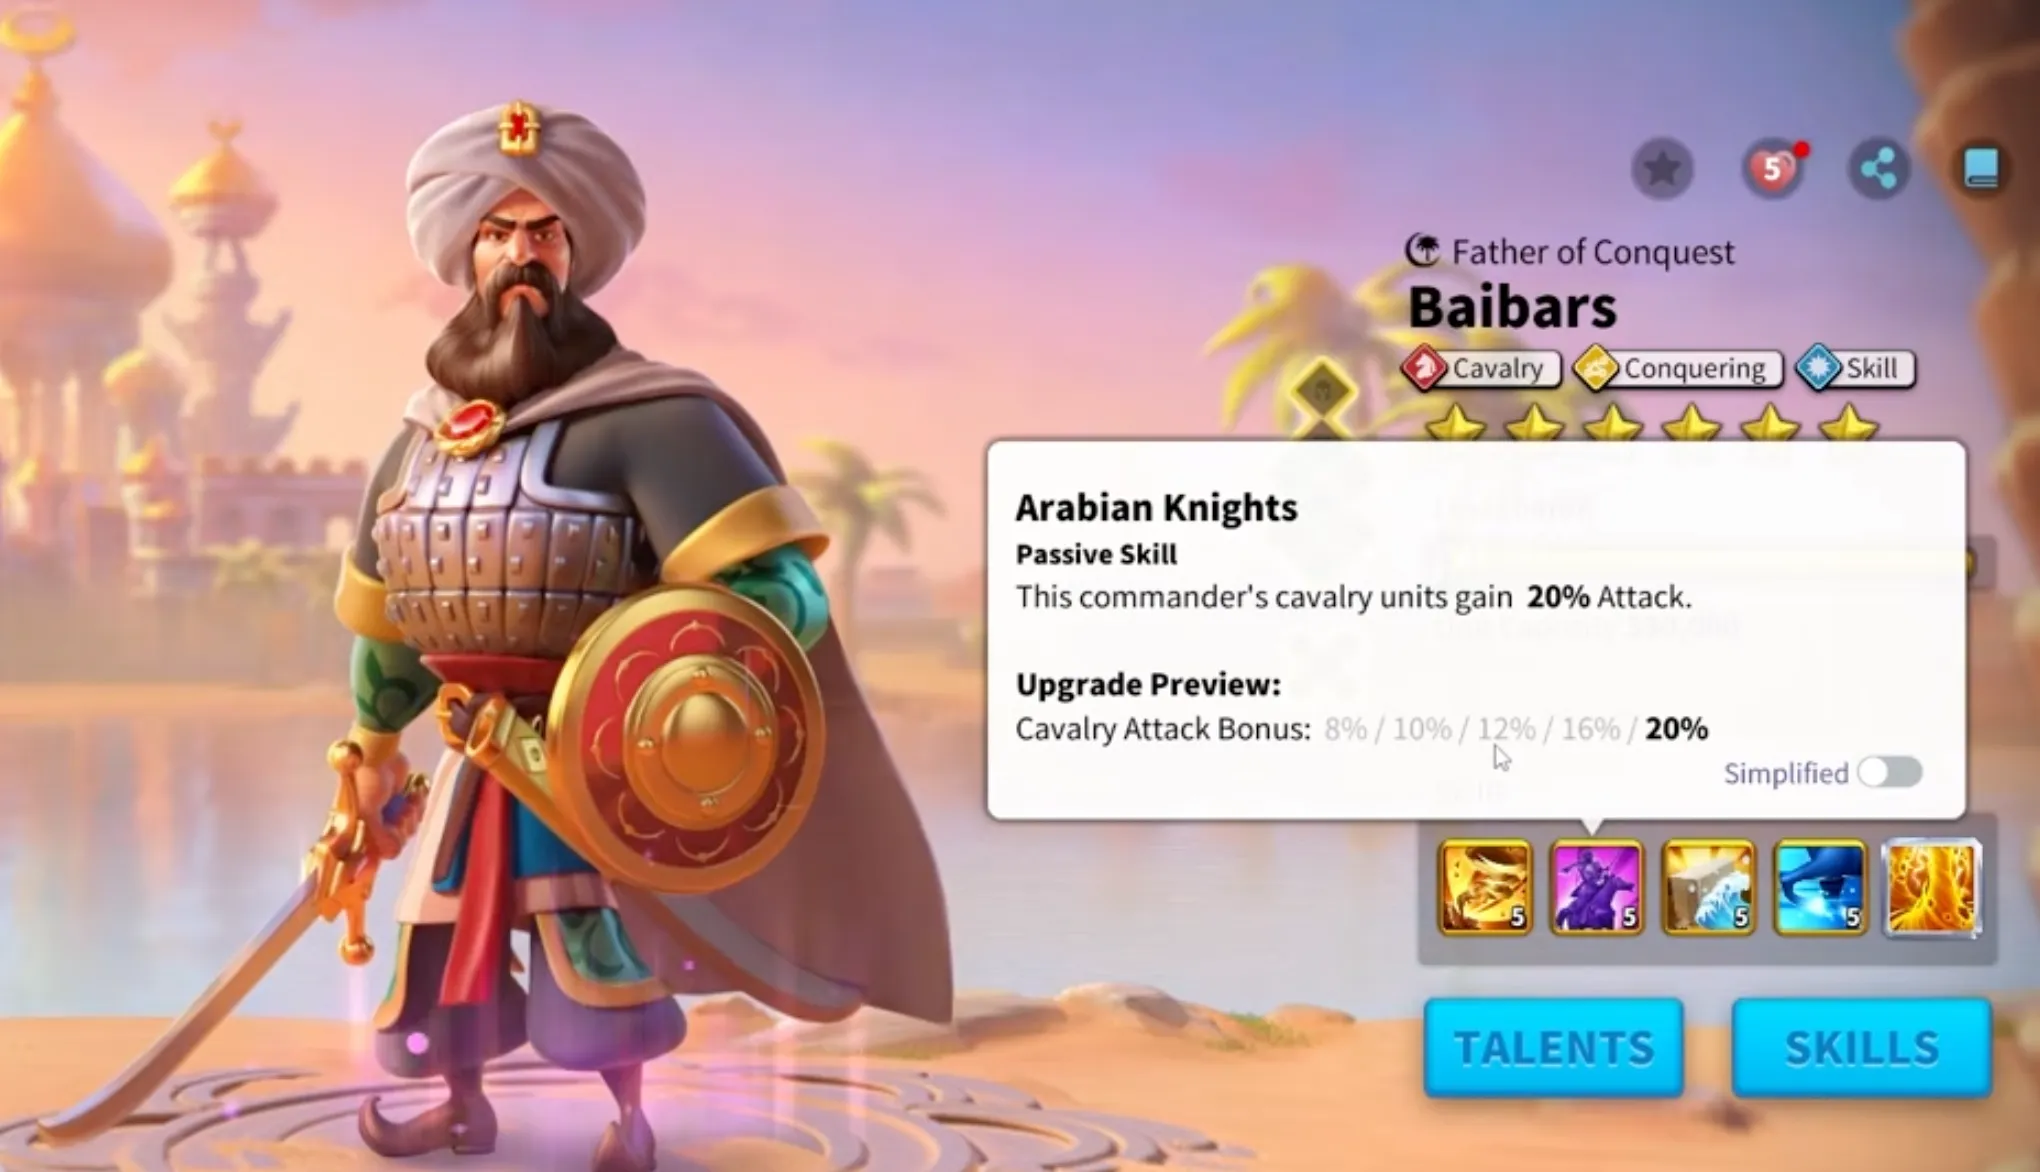

· Sun Tzu + YSG (Yi Seong-Gye): If you managed to obtain YSG early, this combination can be extremely effective in open-field combat. Sun Tzu and YSG both bring strong skill damage and AoE abilities, making the pairing particularly useful when fighting around large groups.
Cavalry and Whale Setups
· Belisarius + Cao Cao: A strong choice for hit-and-run tactics thanks to the commanders' mobility. The combination allows you to engage targets quickly and retreat before enemy reinforcements can surround your march.
· Charles Martel + YSG: This pairing combines Charles Martel's defensive capabilities with YSG's powerful AoE skill damage. It can perform well in large-scale battles where survivability and sustained area damage are both important.
Map Strategy & Key Fights
Progressing through the Lost Kingdom map requires good timing, positioning, and coordination with your alliance. Understanding where and when to fight can help prevent unnecessary losses and keep your troops available for important objectives.
The Runes and Honor Grind
· Contested Ruins: Ruin battles are an important way to earn Honor, which contributes to leaderboard rankings and milestone rewards.
· Single-March Discipline: Ruin battles can become crowded quickly, and players may be limited to using one active march at a time. Keep additional marches ready so you can replace a weakened march when necessary.

Pass Fights and King's Land Rules
· The 48-Hour Build Rule: When King's Land and the inner passes first become accessible, players can move their troops through the area, but building and teleporting are restricted during the first two days. This period is primarily focused on early PvP encounters and positioning.
· Territory Safety: Staying close to alliance territory is important. Moving too far away from your alliance's protected area can leave your city exposed to enemy attacks and make it much harder to receive support.
Conclusion
Your first Lost Kingdom can be challenging, especially when you are still learning how the map and combat systems work. Keep your Heliamber mine upgraded to maintain the Valor needed for Barbarian Forts, build a healthy reserve of speedups and resources, and coordinate closely with your alliance. Most importantly, avoid unnecessary exposure outside alliance territory and save your troops for the fights that actually matter.