


NTE 1.3 Duskmoor Anomaly Commissions Guide – All 6 Locations
Every new region comes with its own set of secrets, and the ones worth finding are often the ones the map barely hints at. Duskmoor is no exception. This guide covers the hidden commissions in the area, including their spawn conditions, routes, and combat tips to help you clear them all efficiently.
WISHGM NTE Top-Up has your pulls covered — Pay Less, Play More!
Fawn Alone
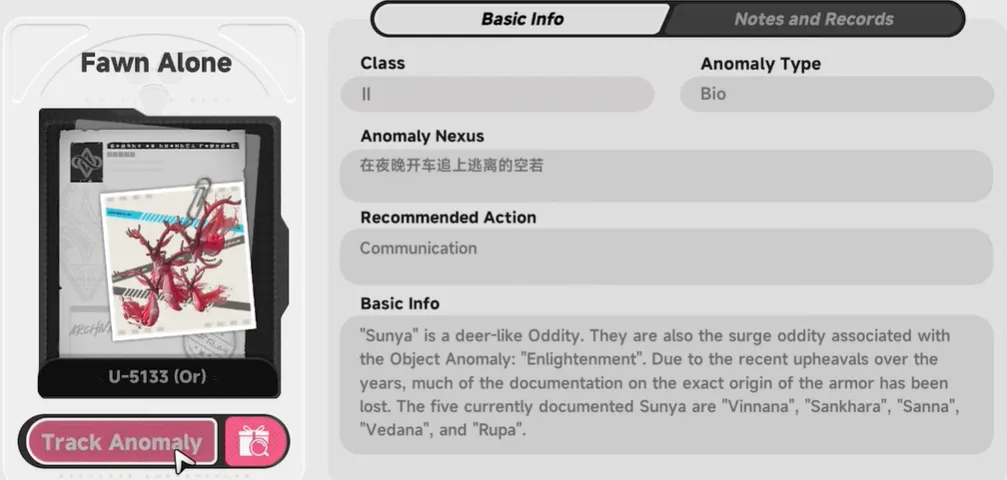
Time: 23:00 – 00:00
Route
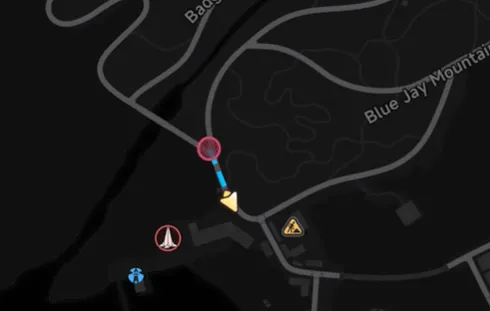
· Teleport to the Wertheimer Tower waypoint in the northern part of Duskmoor.
· Open the time menu and set the clock to 23:00 or later. The commission only becomes available during this time window.
· Head toward the marker on your minimap, northeast of the tower. You should see a faint red glow on the ground.

· A small creature will begin moving. Follow the floating red particles it leaves behind.
· After roughly 100 meters, the glow will stop at a small clearing, and the commission will complete automatically.
Reward: 30 Stellar Gems + 60 Exploration Points.
Leech Spawn
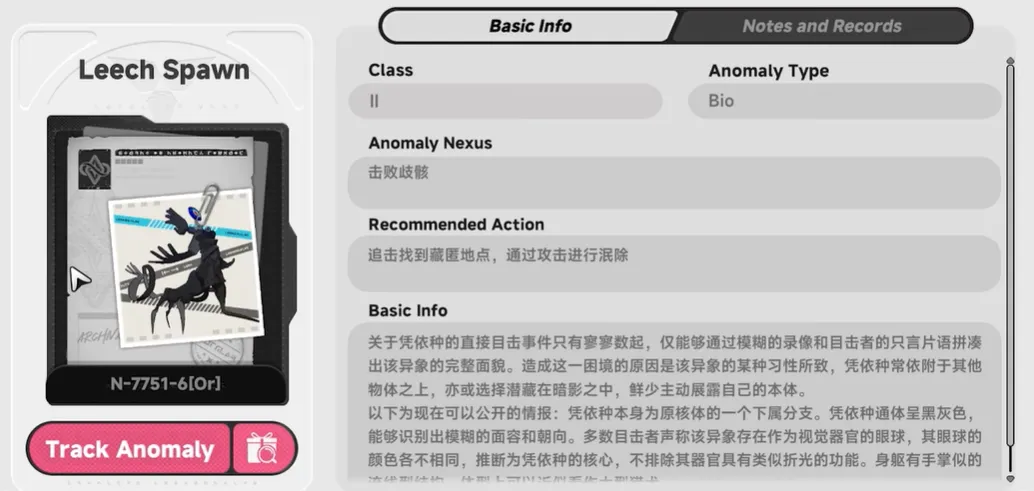
Time: After 20:00
Route
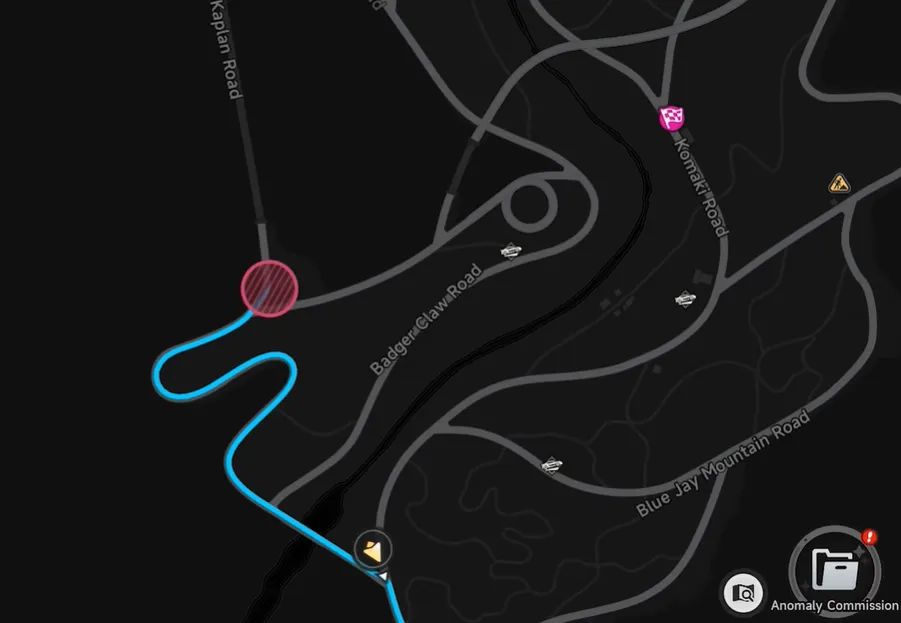
· Teleport to the Wertheimer Tower and walk up the stairs to road level.
· Turn right and follow the main street until you find a streetlamp with an interact prompt. It only appears after 20:00.
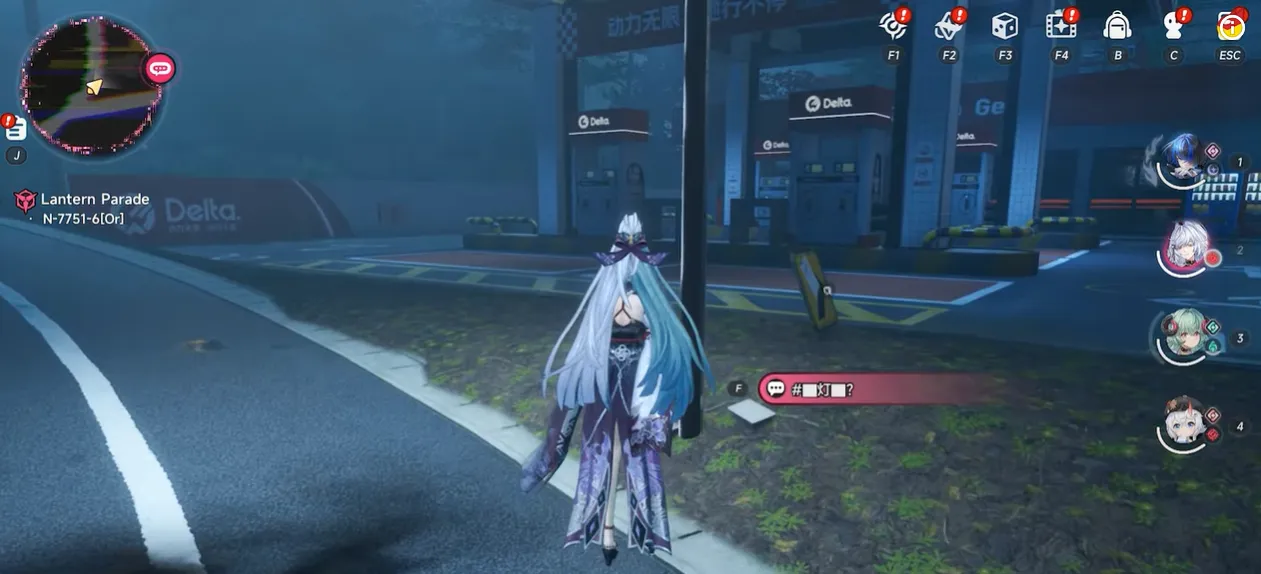
· Select “Turn on the light”. A shadowy figure will appear on the ground and begin moving toward the next lamp.
· Follow the shadow and turn on the light at each subsequent lamp. The sequence is linear, and you will pass three streetlamps in total.
· After the third lamp, the shadow stops in a small courtyard and a group of Leeches appears.
· Defeat all the enemies to complete the commission.
Tip: The Leeches are weak to fire-type damage, so bringing a character with Pyro skills can help you clear them more quickly.
Reward: 40 Stellar Gems + 80 Exploration Points.
Saddy Teddy
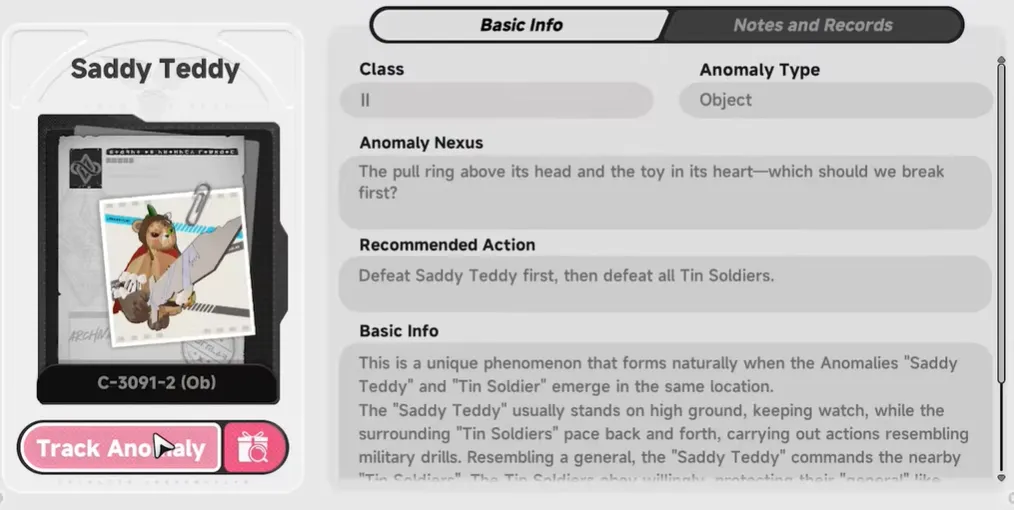
Time: Any
Route
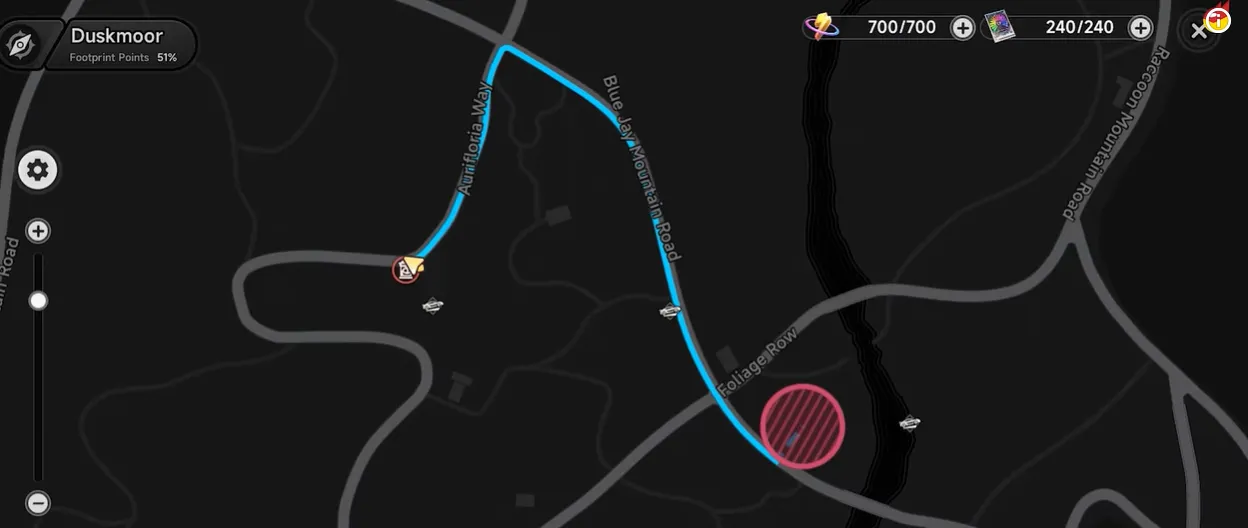
· Head northeast along the main road, then turn left into a small clearing marked by a large overturned storybook.
· The commission triggers when you enter the area. A giant Saddy Teddy puppet will appear alongside several smaller enemies.
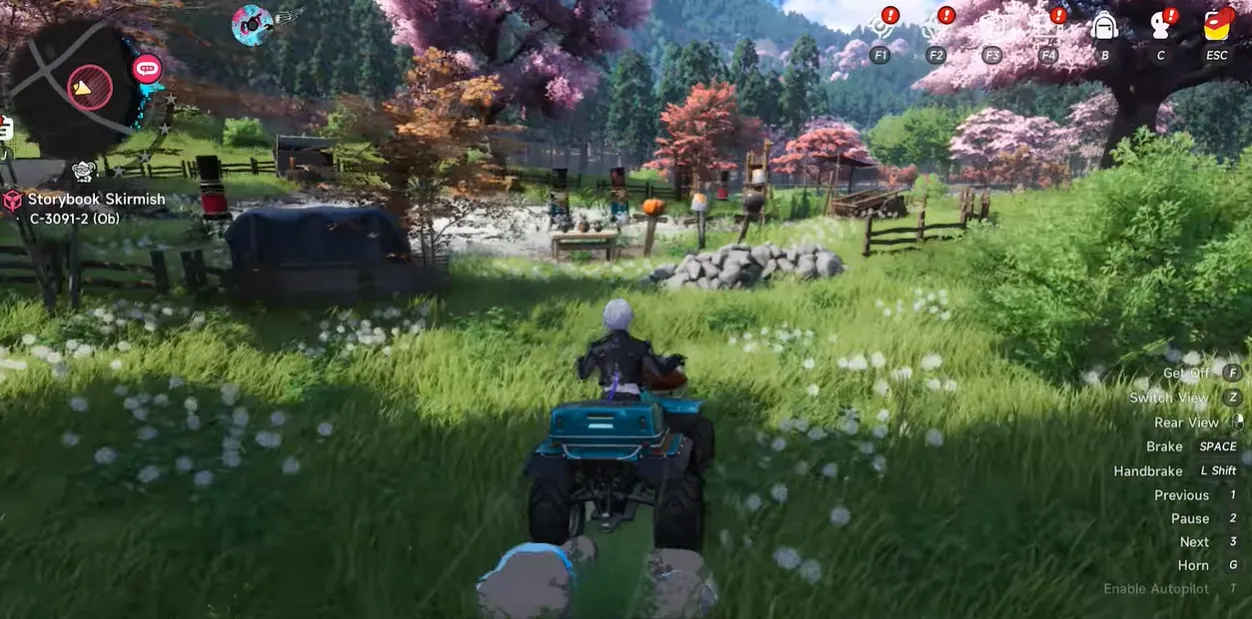
· Focus your attacks on Saddy Teddy. It has moderate HP but deals heavy damage, so watch out for its overhead slam.
· Defeat all enemies in the area. The commission completes once Saddy Teddy is defeated.
Reward: 35 Stellar Gems + 70 Exploration Points.
Scarlet Phantom
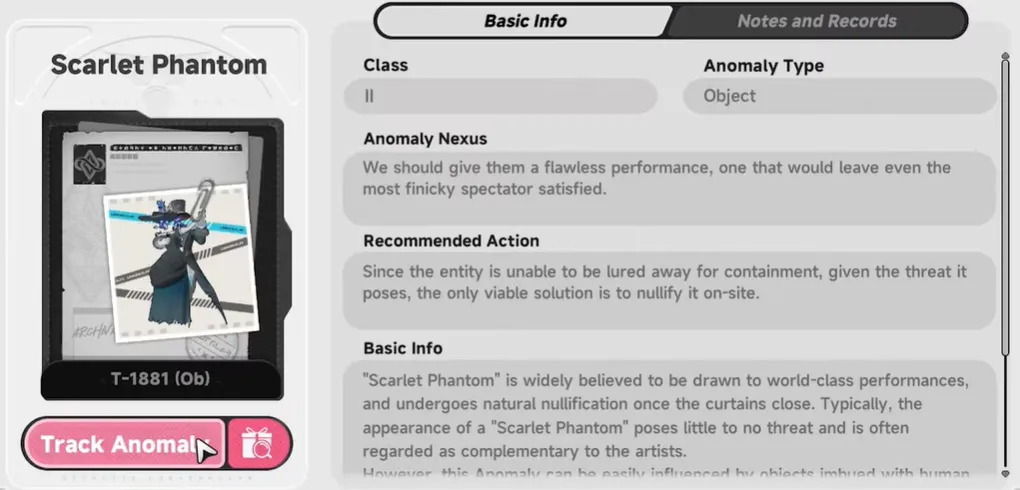
Time: Any
Route
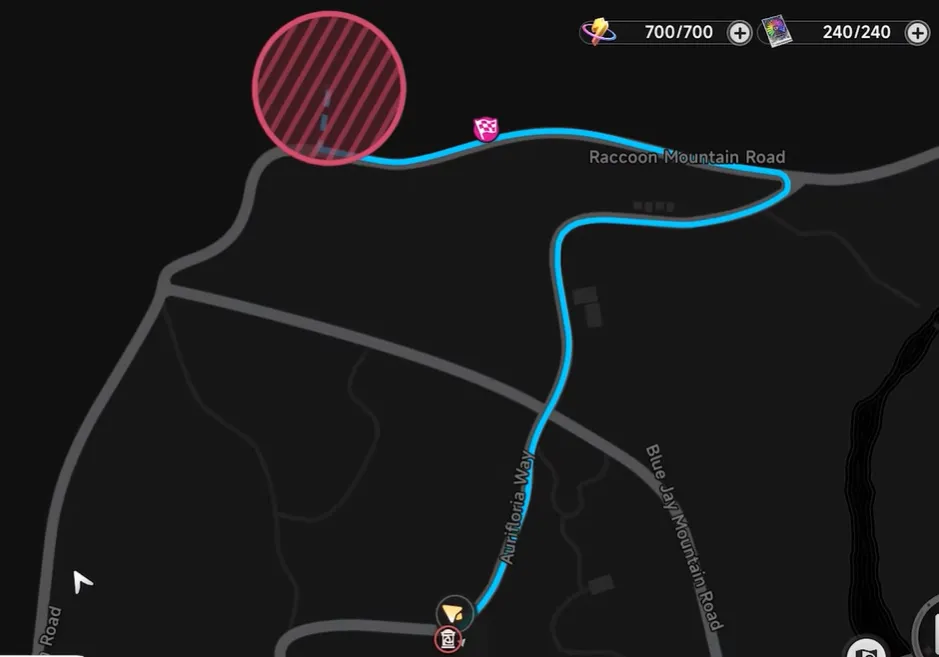
· Drive or run west until you reach a small isolated house with a collapsed roof. It appears on the map as a gray structure.
· Climb over the fence and approach the containment device, which appears as a small glowing orb on the ground.
· Interact with it. The screen will briefly flash, and Scarlet Phantom will appear before quickly disappearing.
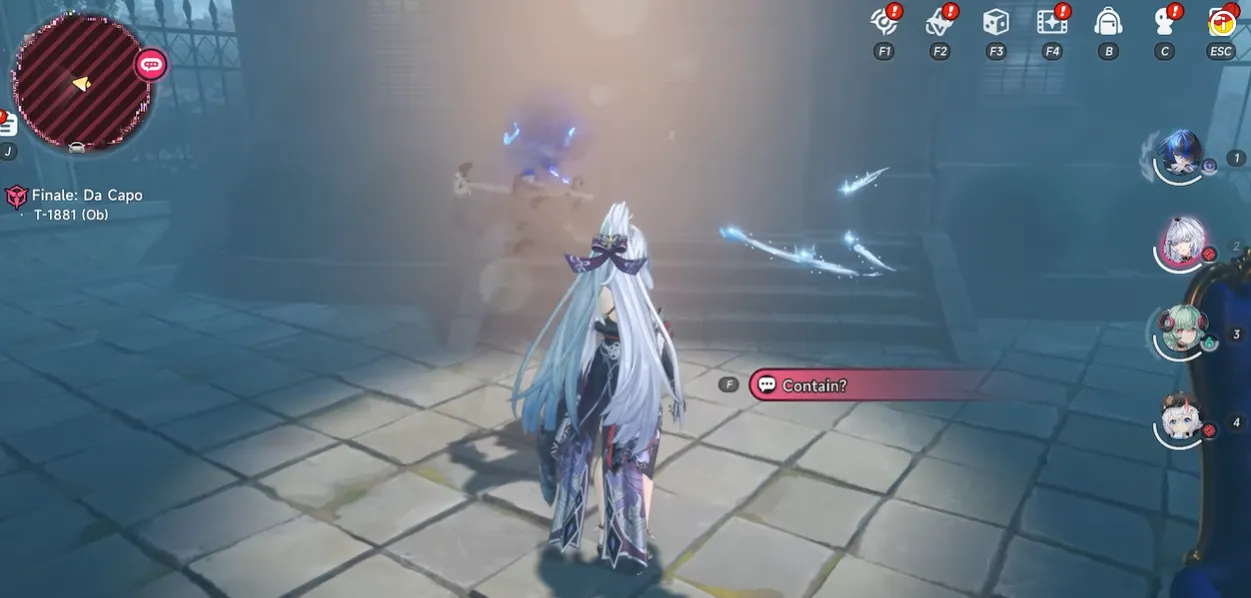
· Pick up the ring left on the ground. This causes the phantom to respawn in a more aggressive form.
· Defeat Scarlet Phantom. It uses fast melee combos and a teleporting backstab, so keep moving and use crowd-control abilities whenever possible.
· Once the phantom is defeated, the commission will be marked as complete.
Reward: 45 Stellar Gems + 90 Exploration Points.
Twin Blooms
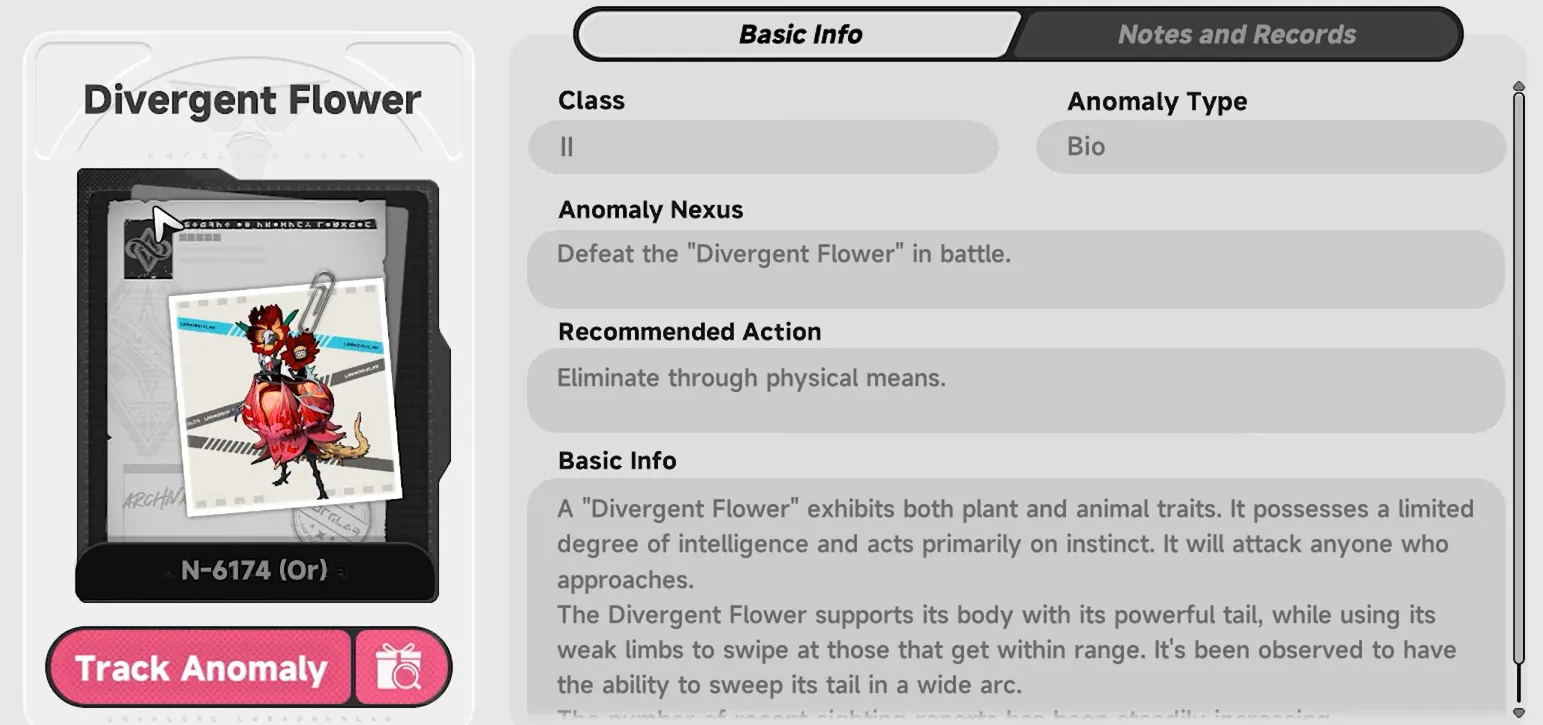
Time: Any
Route
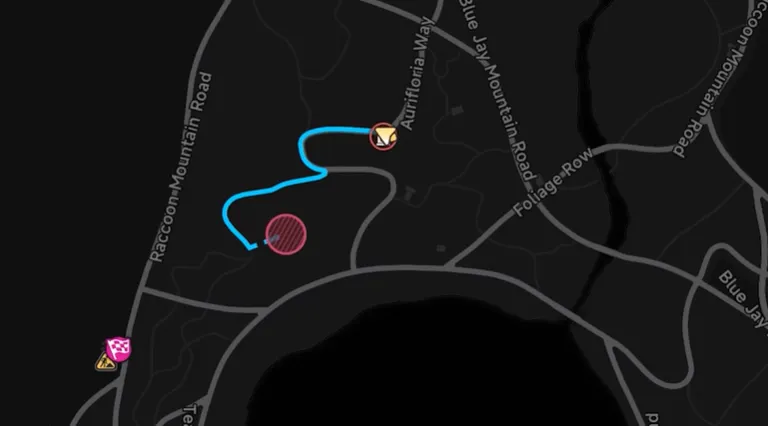
· Teleport to the waypoint south of Starfall Bay, closest to the glowing flower patches.
· Drive southwest toward the first red-glowing zone shown on your minimap. It is a small hill occupied by a group of corrupted enemies.
· Defeat all enemies in the area. After the battle, the red glow will move to the next location north of the first zone.
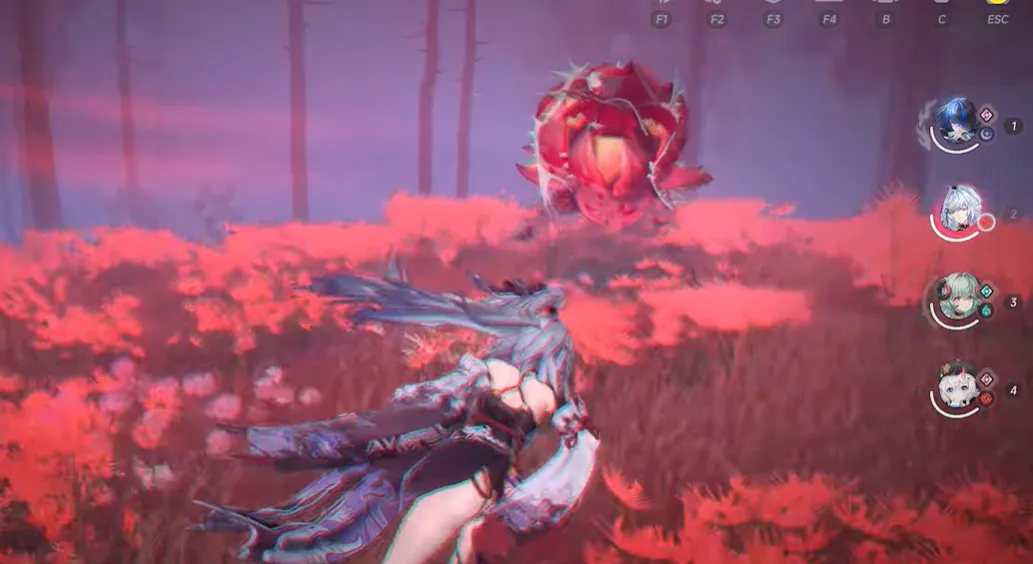
· Follow the glow and repeat the process. There are three zones in total, each containing a moderate group of enemies.
· After clearing the third group, the commission completes automatically.
Reward: 40 Stellar Gems + 85 Exploration Points.
Sunken Door
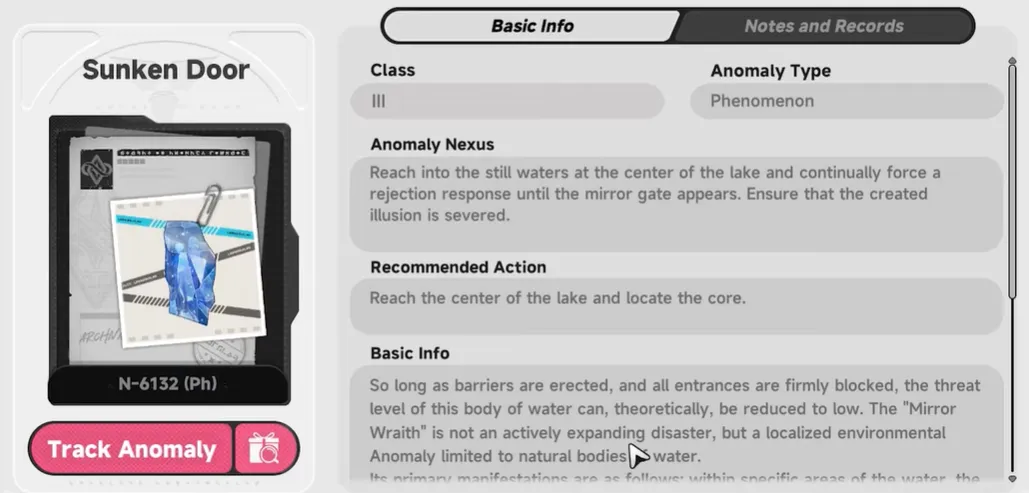
Time: After 20:00
Route
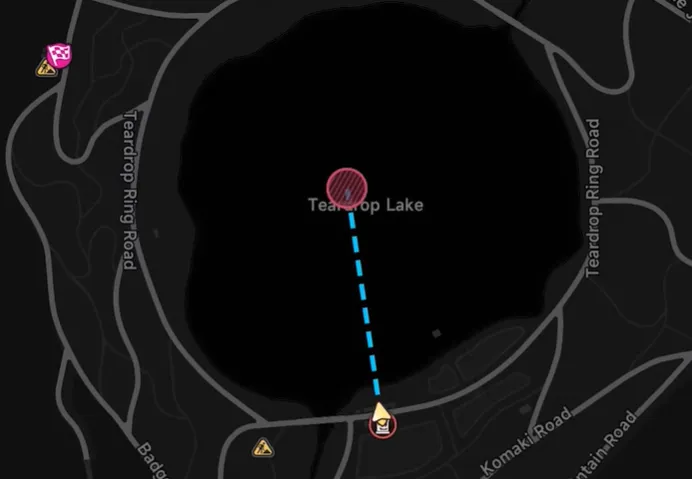
· Summon a vehicle and head toward the center of the lake, where you can find a circular stone platform partially submerged in the water.
· Approach the platform and the Mirror Wraith boss will emerge from the water. This is the only commission in the area that features a full boss battle.
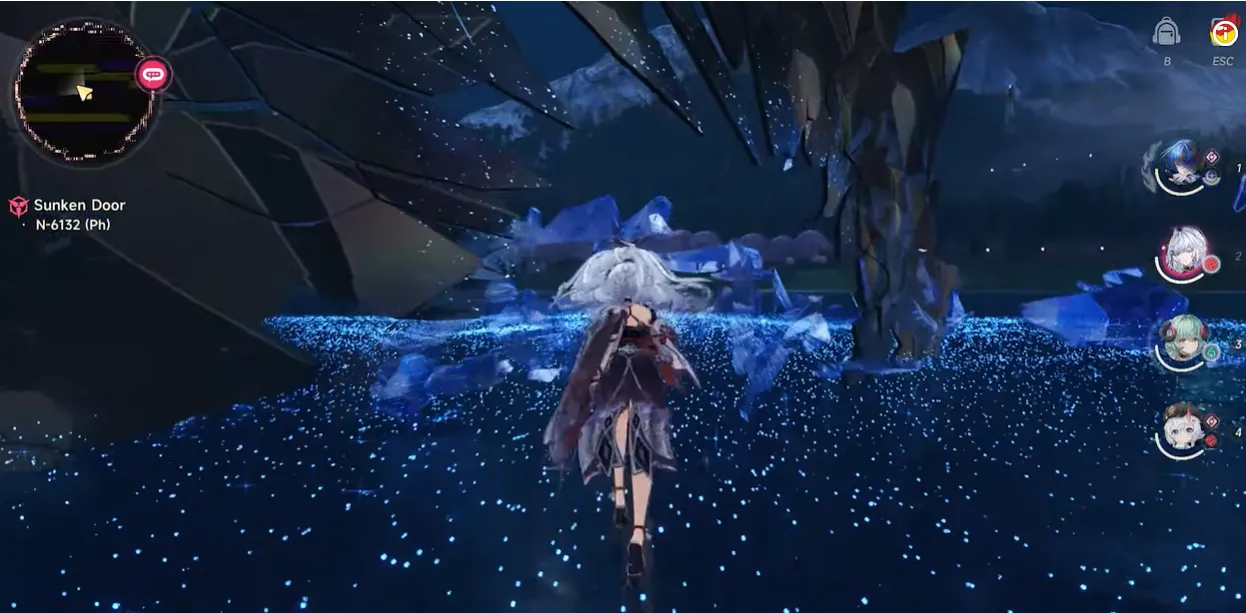
· Reduce its HP to zero to complete the commission. The boss has roughly 2.5× the health of a normal Elite enemy, so be prepared for a longer fight.
Reward: 60 Stellar Gems + 120 Exploration Points + a random 4-Star Artifact.
Final Thoughts
Exploring every corner of a new region is part of the fun, and discovering hidden commissions along the way makes Duskmoor even more rewarding. Completing these secret tasks not only provides Stellar Gems and Exploration Points but also helps you make further progress toward fully exploring the region.
So grab your vehicle, check the clock, and start exploring—Duskmoor has plenty of secrets waiting to be uncovered!