


Where Winds Meet Reflection Temple Guide: Full Walkthrough, Taboos, Charm Coins & Rewards
Reflection Temple is a solo horror puzzle event in Where Winds Meet where careful observation is the key to survival. As you explore the temple, new taboos will gradually be added to the rules you need to follow. However, not every death is a failure—several deaths are intentionally required to unlock the next part of the story. If you try to avoid every taboo from the beginning, you may actually prevent yourself from progressing.
This guide walks you through the complete Reflection Temple experience, including the mandatory deaths, all three Charm Coins, the offering puzzle, the Part 2 escape sequence, and the available event rewards.
WISHGM Where Winds Meet Top Up offers convenient top-up options—Get More, Spend Less!
How to Start Reflection Temple
Go to Windtail's Jianghu → Events → Reflection Temple, then select Go to travel directly to the event location.
Before entering the temple, you can adjust both your camera perspective and horror settings:
· First Person: Provides a more immersive horror experience, although the narrower field of view can make navigation more difficult.
· Third Person: Gives you a wider view and makes it easier to navigate the temple while watching for nearby dangers.
· Thrill Mode: Provides the full horror experience, including stronger scares and complete audio effects.
· Mild Mode: Reduces the intensity of certain horror elements and provides extra warnings before some scares occur.
Your POV can be switched at any point through the Scroll of Deliverance menu. If your priority is completing the event efficiently, Third Person is generally easier for keeping track of your surroundings.
Reflection Temple opens on August 27, 2026, and remains available until September 27, 2026, at 4:59:59 (UTC+8).
Reflection Temple Taboos Explained
At the beginning of the event, the temple gives you five rules to follow. As you progress through the puzzle, additional taboos will be revealed. In total, there are nine possible taboo-related deaths.
| Taboo | What You Need to Know |
| Seek No Voices Before the Temple | Do not turn around while the opening voice is calling you. |
| Never Enter the Temple Alone | This death is required once. Your shadow remains afterward and becomes your companion. |
| Take No Altar Offerings | Do not take the Paper Effigy too early. |
| Let No Child's Shadow Touch You | Keep the child statues in sight or they will move toward you. |
| Never Answer to Ghostly Calls | Stay silent when questioned during the lift sequence. |
| Consume No Food of the Dead | Do not eat the food found in the courtyard. |
| Never Mix the Five Offerings | This taboo must eventually be broken to continue. |
| Steal No Relics From the Dark | Taking the candle relic causes another required death. |
| Never Look Into Wells in Pairs | Important during Part 2: do not inspect the well again. |
Keep in mind that dying does not always mean you have failed. Some deaths are deliberately built into the event's progression. The initial temple entrance, the offering section, and the candle sequence all require specific death triggers to advance the puzzle.
Understanding which deaths are mandatory is therefore essential. Instead of restarting whenever you trigger a taboo, pay attention to what changes afterward—some deaths are actually clues that unlock the next stage of Reflection Temple.
Reflection Temple Part 1 Walkthrough
1. Approach the Temple and Follow the Opening Voice
When the opening sequence starts, you will hear a voice instructing you to turn around.
Do not turn around while the voice is still speaking. Wait until the call has completely finished before checking the area behind you.
Once it is safe, explore the surroundings and investigate the nearby chest, letter, skeleton, and other clues. Before entering the temple, check the right side of the entrance as well, where you can find another clue and chest.
2. Enter the Temple and Trigger the First Required Death
One of the first rules states Never Enter the Temple Alone. Unfortunately, this cannot be avoided during your first attempt.
Enter the temple and allow the taboo to trigger.
After you respawn, you will notice a shadow/reflection of your character left behind. This shadow becomes your companion and satisfies the temple's requirement when you enter again.
For now, do not pick up the Paper Effigy near the well.
Before moving on, you can also open the door on the left side of the entrance and examine the clue inside.
3. Pass the Child Statues
The next area contains three child statues that work similarly to moving-statue enemies: they move whenever they are outside your line of sight. If one catches up to you, the result is an immediate death.
Keep all three statues within your view as much as possible while moving through the area. Reposition carefully and avoid turning your back on them for too long. Using Third Person can make this section much easier to manage.
After reaching the lower well route, continue forward and get ready for the upcoming chase sequence.
4. Pick Up the Three Charm Coins
You can find three Charm Coins during this escape section.
Collect the first Charm Coin and immediately continue running, as a puppet will begin pursuing you. Follow the main route to obtain the second coin, then collect the third one before making your way toward the lift.
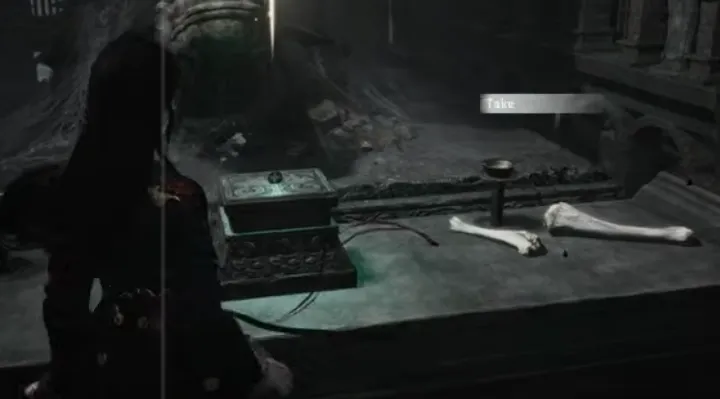
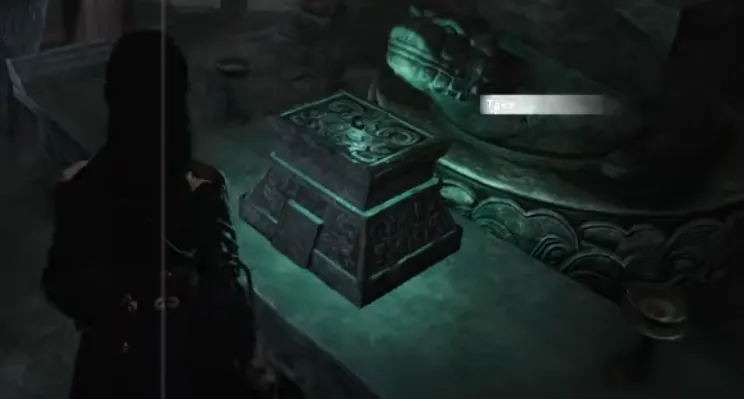
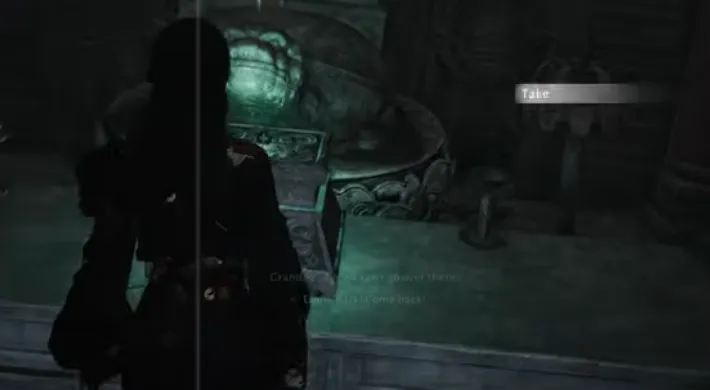
Try not to explore unnecessary side routes while being chased. Some paths do not lead anywhere and can give the pursuer enough time to catch up.
5. Remain Silent During the Lift Sequence
When you arrive at the lift, a ghostly child will speak to you.
Do not respond.
Answering the ghost triggers the Never Answer to Ghostly Calls taboo and causes another death. Stay quiet until the sequence finishes and you are able to continue.
Afterward, pick up the key and unlock the accessible doors. Follow the route around the back of the temple. If the straightforward path is blocked, take the alternate route instead.
6. Collect the Five Offerings
You will eventually arrive at the courtyard and the offering area.
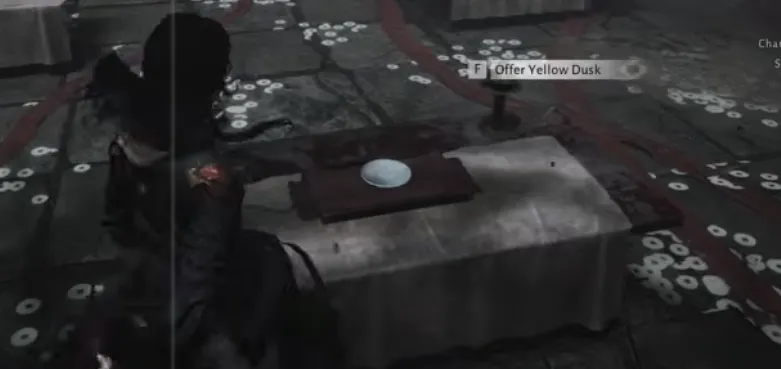
Read the note and collect the Rotten Meat, but do not eat the food from the nearby stall. Consuming it activates the Consume No Food of the Dead taboo.
At this point, two of the five required offerings should already be in your possession. Search the area for the remaining three:
· Cold White Rice — Found near the gate on the right.
· Soaked Riverweed — Search inside the coffin on the opposite side.
· Withered Paper Flowers — Check the crack beside the nearby house.
After collecting all five offerings, return to the temple and place each item on the corresponding offering plate.
7. Obtain the Candle Relic
Once you respawn, head back into the temple and collect the candle relic from the monk.
Doing this triggers another taboo and results in a required death.
After respawning again, return and take the candle from your shadow instead. Before leaving, you can also open the chest on the left side of the altar and investigate the nearby skeleton for additional clues.
8. Go Back to the Starting Well
Return to the well where the event began.
Place the candle onto the candlestick, then retrieve the Paper Effigy from inside the well.
With the required steps completed, leave the temple to finish Part 1 of Reflection Temple.
Reflection Temple Part 2 Walkthrough
Part 2 is more straightforward than the first section, but it is especially important for players trying to complete the temple without triggering any additional taboos.
1. Avoid Looking Into the Well
After exiting the temple, read the note on the ground and make your way back toward the offering area.
The well may look worth investigating again, but do not look inside it.
Doing so activates the Never Look Into Wells in Pairs taboo and causes an immediate death.
2. Follow the Black Goat
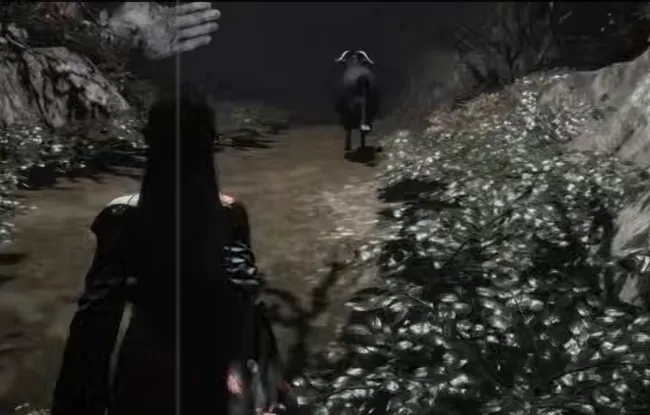
Leave through the gate on the right and inspect the bag outside. On the opposite side, examine the corpses and read the nearby note before following the black goat along the path.
Stay behind the goat and follow the intended route instead of exploring the surrounding area.
When the goat jumps down from the path, do not jump after it. Continue along the regular road to reach the lower area safely.
Once you arrive, pick up the goat meat and investigate the nearby room before returning.
3. Complete the Last Offering
Take the goat meat back to the offering area and place it on the appropriate offering plate.
After completing the offering, return to the well and put the Paper Effigy inside.
Leave the temple area again to complete the Reflection Temple event route.
How to Complete the No-Taboo Objective
A completely deathless first run through Part 1 is not possible because several taboo violations are intentionally required to progress through the event.
If your goal is the objective requiring you to leave the temple without violating any taboos, you should replay Part 2 and complete this section without triggering any additional deaths.
You can replay the section from the Scroll of Deliverance menu by selecting Re-enter the Temple.
For a successful no-taboo Part 2 run, keep these three points in mind:
· Do not look into the well.
· Follow the black goat and take the normal road downward instead of jumping after it.
· Place the goat meat on the offering plate, then return the Paper Effigy to the well.
Reflection Temple Rewards
Completing the event objectives rewards you with Soulbound Paper. Collect enough of this seasonal currency to unlock the corresponding milestone rewards.
| Soulbound Paper | Reward | ||||
| 20 | Coin ×5,000 | ||||
| 40 | Modulating Stone: Mirage ×2 | ||||
| 60 | Inner Way Note: Chest ×5 | ||||
| 80 | Ebon Iron - Forge Ahead ×10 | ||||
| 100 | Re-Attunement Stone: Mirage ×1 | ||||
After completing the required objectives, open the event interface and remember to claim each available reward milestone.
Final Tips
Reflection Temple becomes considerably easier once you understand which deaths are intentionally part of the story and which taboos must actually be avoided. Third Person provides better visibility during the more dangerous sections, while Mild Mode is a useful option if you prefer a less intense horror experience.
If you are working toward the no-taboo objective, replay Part 2 through the Scroll of Deliverance menu and focus on avoiding the well and following the black goat's intended route.
For more Where Winds Meet guides, event walkthroughs, and game updates, follow WISHGM for the latest content.